With tender chicken, crispy breading, and a browned cheesy topping, this chicken parmesan you can make at home is better than anything from a restaurant.
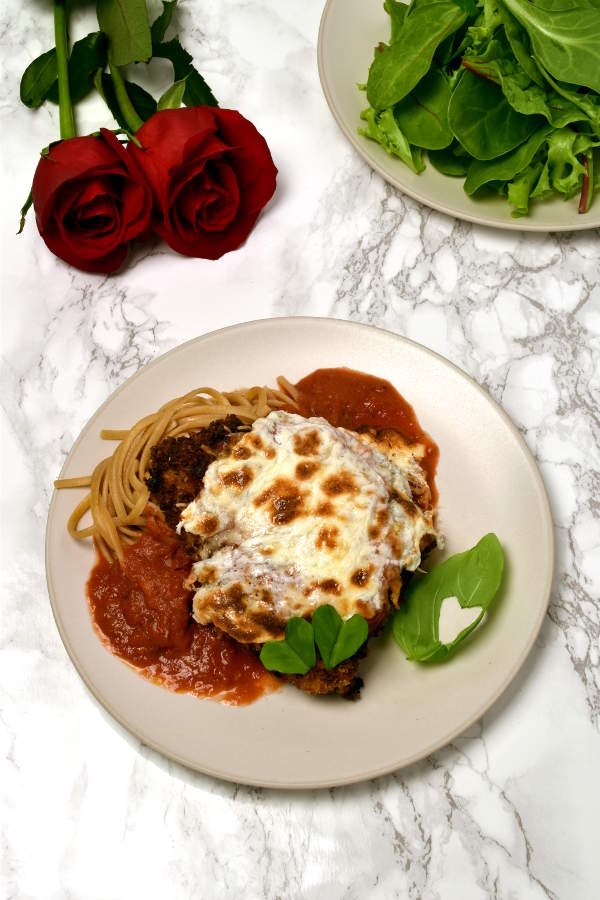
It’s a bold claim, I know.
But there is no chicken parmesan that will ever taste better than making this recipe at home.
Look, I enjoy going out to eat. I mean, who doesn’t? No work to prepare dinner and no dishes to wash? Not to mention new foods to try, lively or romantic atmospheres to soak in, and a reason to dress up. And even after almost three years together, there is still that little thrill of being on a date with a handsome man.
Jonathan knows this, and he takes me out for dinner often. Now that we live in the suburbs, unless we drive into Boston, most of our choices are chain restaurants. The food at these places doesn’t always blow us away, but I always enjoy it as a break from cooking and a fun time together.
That said, have you ever had that experience of eating in a restaurant, knowing your or your date is spending money on it, thinking you could make this yourself at home and it would taste better? I don’t mean it would be healthier or have less sodium—that’s obvious. I mean it would just be better. Chicken parm is one of those dishes for me. I rarely order it out anymore.
While I think home cooking is generally healthier than restaurant meals, I want to be clear. I’m not giving you a recipe for a healthified chicken parm. I do normally serve it with 100% whole grain pasta and a salad, but this dish is indulgent.
Now, I’ll be the first to admit the recipe is time consuming. Think of it like an epic cooking adventure. It’s the kind of thing you might want to make for company or a special occasion, but it’s so worth it. After Jonathan and I moved in together, the first time we had his family over for dinner at our house, I made this chicken parmesan. All my guests cleaned their plates.
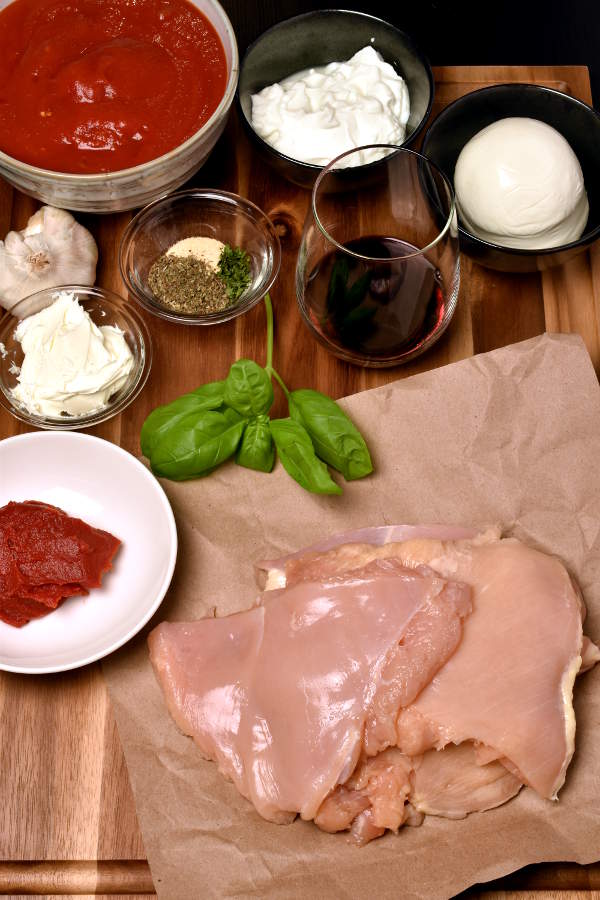
Here are some of the main ingredients. We have chicken breasts pounded to a half inch thickness, tomato paste, basil, mascarpone cheese, garlic, canned san Marzano tomatoes, garlic powder, dried basil, and dried parsley, red wine, plain nonfat Greek yogurt, and fresh mozzarella cheese. I couldn’t fit all the ingredients into one picture. Not pictured: salt and pepper, milk, flour, eggs, panko bread crumbs, canola oil, shredded parmesan cheese, shredded mozzarella cheese, and olive oil.
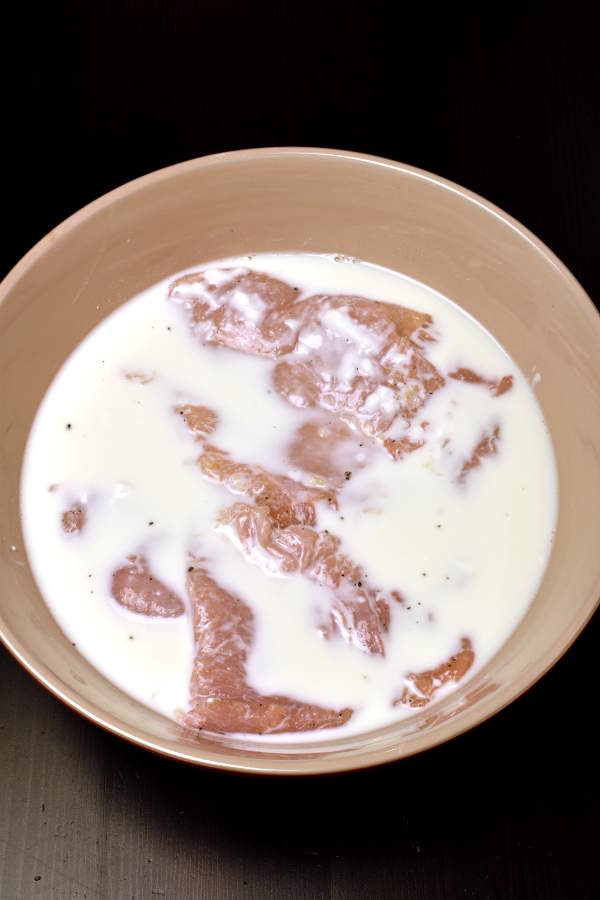
I start out by marinating the chicken in a mixture of milk and yogurt. I got the idea for this marinade from this recipe from Serious Eats. It does mean you need to get a head start on the recipe to let it marinate (I like to do it the night before), but this is the secret to keeping the chicken extra juicy and tender. I feel like sometimes chicken parm is trying to hide a dried up chicken breast with cheese and sauce. With this method, you really enjoy the chicken itself.
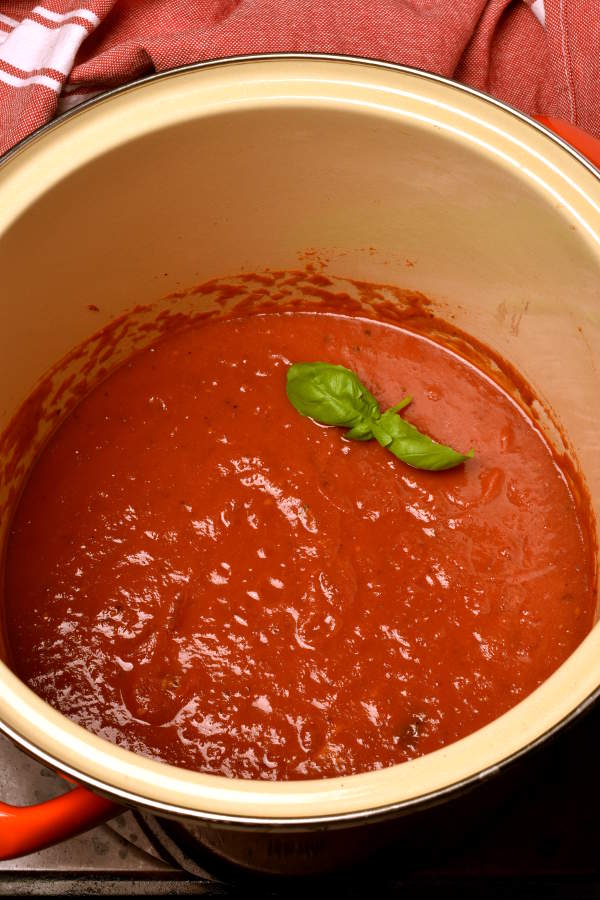
When you’re ready to actually start cooking dinner, the first step is making the sauce. I do include directions to make the sauce from scratch. I recommend you make the sauce first and leave it on the stove simmering over very low heat until the chicken is done. Making the sauce from scratch only adds about 15 minutes to the cook time, because it will simmer while you make the chicken. However, if you feel overwhelmed having too many things going on in the kitchen at once, you could definitely make the sauce up to a week in advance. (If making further in advance, freeze and then defrost before using.) Then just reheat before serving. You’ll get about 6 ½ cups of sauce. That’s more than you need for the chicken parm, but you’ll have enough for your pasta and probably some leftover. I think it’s better to go that way than for me to write a recipe with 1 ½ cans of tomatoes. The only thing worse than that would be if you ran out of sauce.
You could of course substitute jarred sauce to save time. I would get at least a quart. Just make sure you use a good brand of sauce that you’ve already tried and you know you like. Once I was making lasagna, and I bought this jarred marinara sauce that was on sale that I hadn’t bought before. It had only olive oil in the ingredients (no soybean oil) and a low amount of sodium, so I thought it would be okay. I felt like I ruined the whole lasagna by being cheap with the sauce. Every bite was just salty, bad sauce. Be smarter than me. Don’t learn the hard way. Use good sauce.
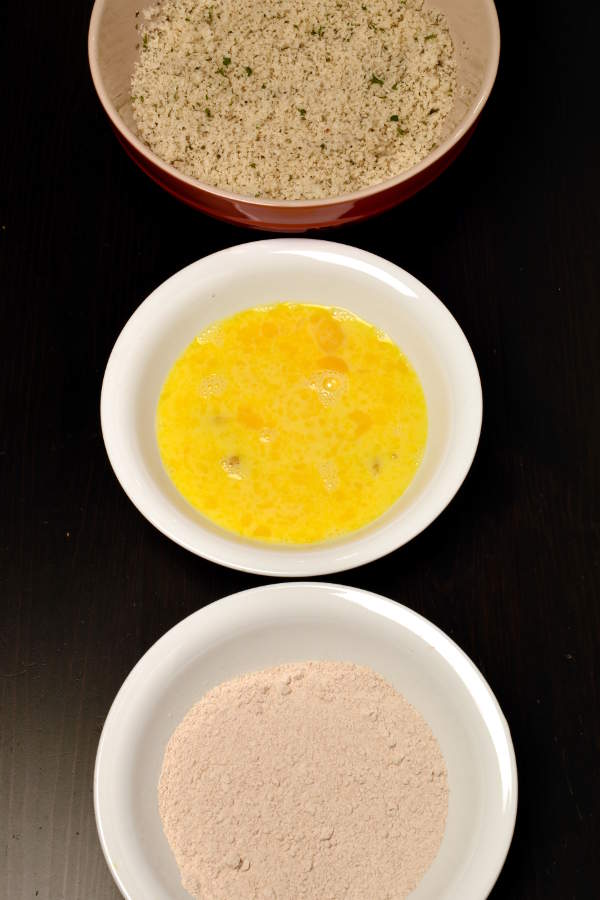
Next up I set up a breading station with flour, egg, and breadcrumbs. I have tried making homemade breadcrumbs before, but I never felt like it was worth the effort. I always found it easier and just as good using store-bought panko breadcrumbs and adding some seasoning. (And if you’re wondering about the color of my flour, I used white whole wheat flour.)
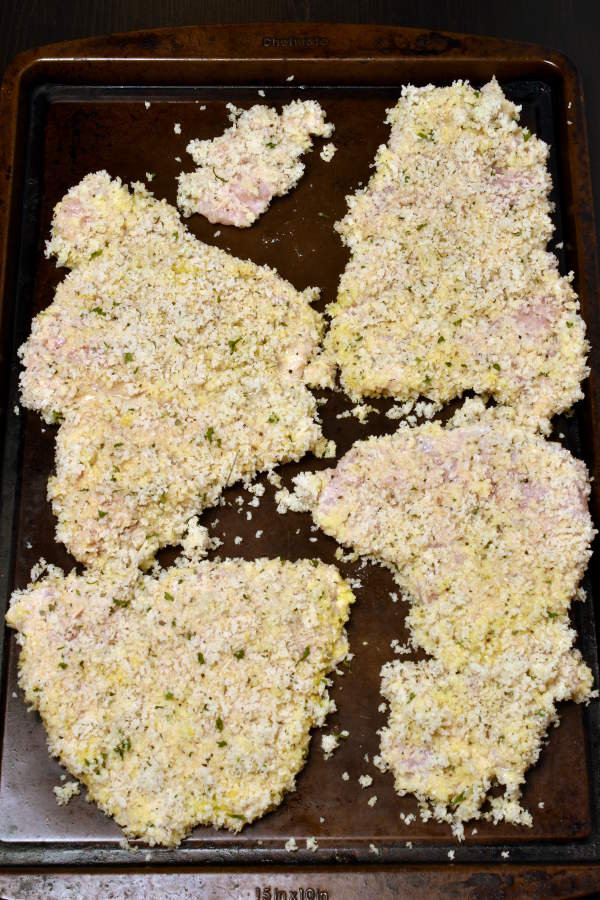
Here my chicken is ready for frying.
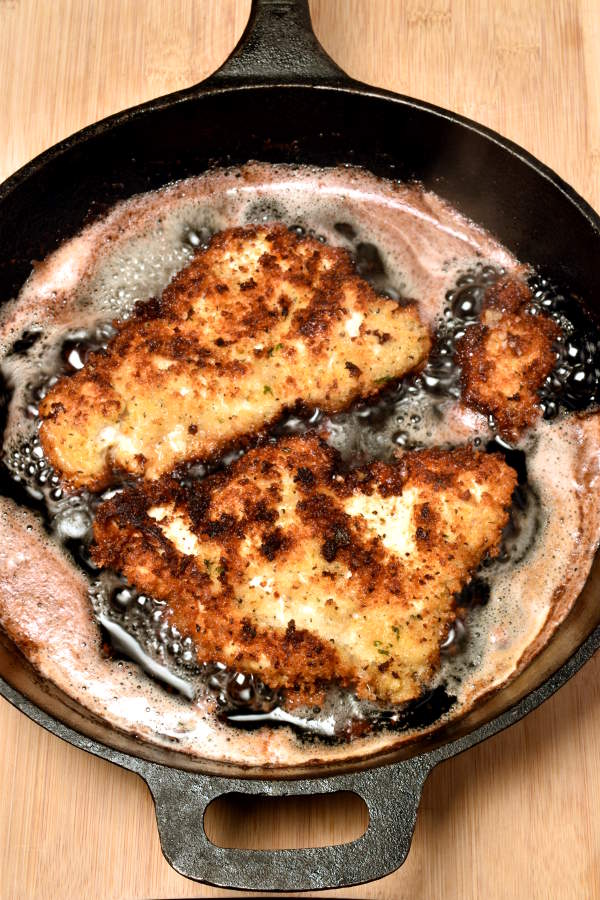
The hardest part of this dish for me is always frying the chicken cutlets. You know, if your heat is too low, the chicken will take a long time to cook and soak up all the oil, but if your heat is too high, the breading will burn before the chicken cooks. With an electric stove, it takes a while to adjust the heat. And there is always one spot on the pan that’s hotter than the rest. This makes it particularly hard to get the breading evenly browned.
It doesn’t matter. You don’t want to burn your breading, but if you end up with some parts a light brown and some parts a darker brown, no one can tell. It will become more evenly browned after being baked in the oven, and the chicken will still be crispy and juicy and delicious. Don’t stress over it. I do share some troubleshooting tips in the recipe. But look, mine is not perfect, and it was still the best chicken parm I ever ate.
I usually serve chicken parmesan with spaghetti or linguini and cook two ounces of dry pasta per person. I’m not including pasta in the ingredients and directions since you know how to make pasta. But a reminder to add the pasta, or whatever side you prefer, to your shopping list.
Now are you wondering who you can invite over for dinner?
You never need an excuse to make chicken parm.
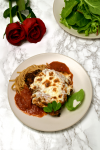
Chicken Parmesan – Better than a Restaurant
Ingredients
Chicken Parmesan
- 2 1/2 pounds boneless skinless chicken breast, pounded to 1/2 inch thickness, cut in half
- 3 cloves garlic, minced
- salt and pepper
- 1 cup plus 5 tablespoons milk, divided
- 5 ounces plain nonfat Greek yogurt
- 3/4 cup flour
- 3 eggs
- 2 cups panko bread crumbs
- 1 1/2 teaspoons dried basil
- 1 1/2 teaspoons dried parsley
- 1 1/2 teaspoons garlic powder
- canola oil for frying
- 2 ounces shredded parmesan cheese (plus more to top your pasta with)
- 4 ounces shredded mozzarella cheese
- 8 ounces fresh mozzarella cheese, thinly sliced
- fresh basil for garnish (optional)
Mascarpone Marinara Sauce
- 2 (28 ounce) cans San Marzano (or other) peeled tomatoes
- 2 tablespoons olive oil
- 2 cloves garlic, minced
- 1/4 cup tomato paste
- 1/2 cup red wine
- 1 teaspoon dried oregano
- salt and pepper
- 1/4 cup mascarpone cheese
Instructions
Chicken Parmesan
- Rub minced garlic and salt and pepper over chicken breasts. Place in a large bowl or a baking dish. Mix 1 cup milk with yogurt and pour over the chicken. Move chicken around to get as much as possible coated with the yogurt mixture. Cover with plastic wrap and put in the fridge. Leave to marinate 1 to 24 hours.
- If you are making the sauce from scratch, skip below to Mascarpone Marinara Sauce and begin making your sauce before returning to step 3 here to start making the chicken.
- Preheat oven to 400 degrees.
- Set up 3 rimmed plates or shallow bowls for your breading station. Put the flour in the first bowl. Crack eggs into the second bowl and beat together with 2 tablespoons milk. In the third bowl, mix panko breadcrumbs, dried basil, dried parsley, garlic powder, salt and pepper, and remaining 3 tablespoons milk. Place an empty sheet pan or 2 at the end of the line.
- Remove chicken from milk and shake off excess liquid. (Dump the marinade.) Bread chicken 1 piece at a time. First, place it in the flour on both sides and gently shake off the excess. Next, dip into the egg mixture, and same thing, gently shake off excess egg. Lastly, dip into the breadcrumb mixture to coat with breadcrumbs. You can use your hand to push some of the breadcrumbs onto the chicken to help it stick. Place breaded chicken on sheet pan. Continue until all chicken is breaded. It helps to have a small bowl of water on the counter to dip your hands into between each piece of chicken, to keep the egg and breadcrumbs from sticking to your fingers.
- Line a plate or sheet pan with 2 layers of paper towels. Pour oil into a large cast iron skillet until you have roughly ¼ inch of oil in the skillet. If you have an exhaust in your kitchen, turn that on. Heat oil over medium-high heat. You can tell when the oil is hot enough by dropping in a breadcrumb and seeing if it sizzles. Use a fork or metal spatula or tongs to gently place chicken into the pan, in a single layer. (You will fry the chicken in multiple batches. Don’t try to fit it in all at once.) Cook until the bottom is a golden brown, about 3 minutes. Then flip over and cook until the second side is browned, about 3 more minutes. Once the second side has cooked, remove chicken from pan and place on paper towel-lined plate. Use a spider to remove any breadcrumb pieces that might have fallen off from the oil. (Otherwise they may get stuck to the chicken in your next batch and burn.) Continue until all chicken is cooked. Add a layer of paper towels to your plate between each layer of chicken to soak up excess oil. (If you want this step to go faster, you could heat oil in a second skillet to fry 2 batches at once. I did 3 batches in a single skillet.) Troubleshooting: If your chicken is not browning in 3 minutes, the oil is not hot enough. If you are running out of oil in the pan because the chicken soaked up a lot, your oil is not hot enough. Turn the heat up a notch and wait for oil to get hotter before doing your next batch of chicken. Alternatively, if the breading gets very dark brown or burns, lower heat and wait a few minutes for oil to cool down before adding more chicken. If all this is making you nervous, try frying just 1 small piece of chicken cutlet first as a test.
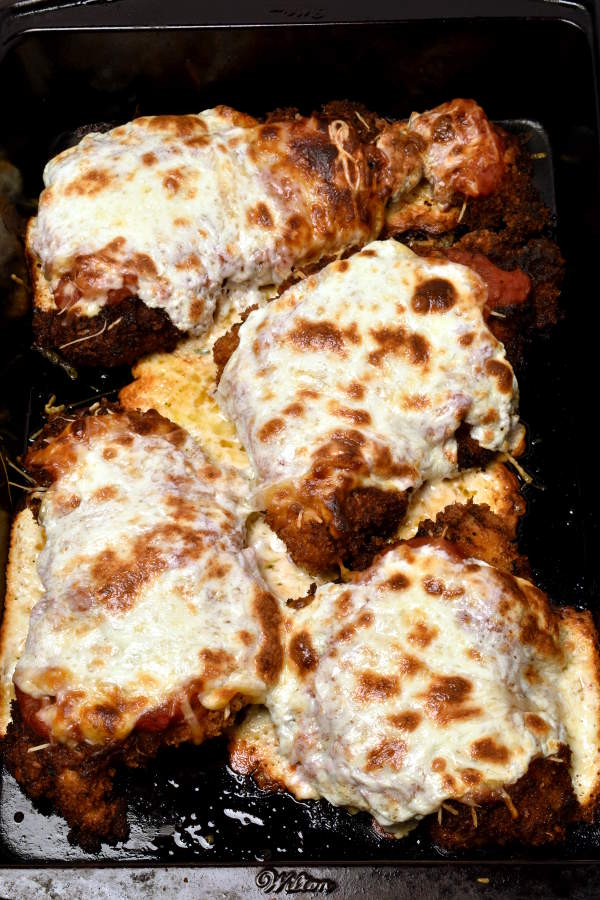
- Spray a baking dish with cooking spray. Arrange chicken in baking dish with as little overlap as the size of your dish allows. (You could use 2 baking dishes if needed to keep everything in a single layer.) I don’t like to add too much sauce during baking because I like the chicken to stay crispy. We just did all this work frying it. With too much sauce, it can get soggy. I put a few spoonfuls of sauce over each piece of chicken, spreading it out from the center of the cutlet with the back of spoon, keeping the edges sauce-less. Toss shredded parmesan and shredded mozzarella together in a bowl. Sprinkle shredded cheese evenly over chicken. Top with sliced mozzarella cheese. Bake for 20 minutes, until cheese is melted. Turn broiler on to high and broil 1-2 minutes, watching closely the whole time, until cheese is brown and bubbly.
- Garnish with whole basil leaves or sprinkle with fresh chopped basil. Serve with pasta and heated sauce on the side.
Mascarpone Marinara Sauce
- Puree 1 can of the tomatoes in a food processor or blender until smooth. Roughly chop the tomatoes in the other can. (If you prefer a smooth sauce, puree both cans.)
- Heat olive oil in a large pot over medium heat. Add garlic and cook 2 minutes, stirring frequently. Add tomato paste and stir to mix. Add wine. Scrape any browned garlic bits off the bottom of the pan. Add all tomatoes, oregano, and salt and pepper. Stir to combine.
- Bring to a boil over medium-high heat. Then reduce heat to low and simmer for 25 minutes, stirring occasionally. While the sauce is simmering, you can start making the chicken from Step 3 under Chicken Parmesan above. If 25 minutes has passed and you’re not ready for the sauce yet, just keep it on the stove on very low heat. It will only get better being cooked longer.
- When you’re ready to use the sauce, remove from heat. Add mascarpone cheese and stir until cheese is melted and incorporated. Taste and add more salt or pepper as needed.
Bon Appétit!
Leave a Reply