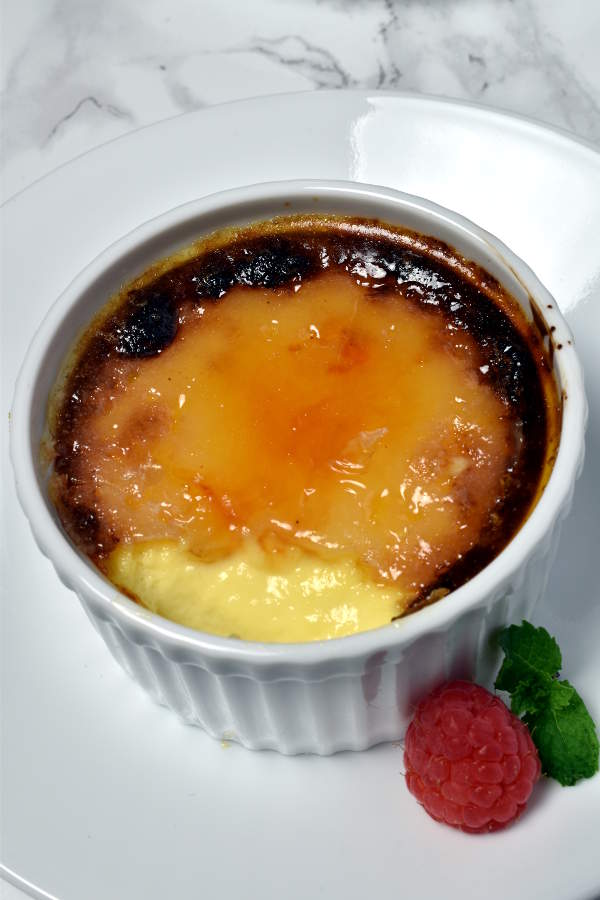
You don’t need any fancy equipment to make this rich vanilla custard topped with a crunchy caramelized sugar crust. This classic French dessert can be made in your home kitchen, with only four ingredients. You won’t believe how easy it is until you try!
Hi guys,
We normally focus on dinner recipes here. The last time I shared a dessert recipe was before Valentine’s Day, when I posted Perfect Chocolate Covered Strawberries. As I mentioned in that post, I’d rather focus my time and efforts on cooking dinner because you need to eat something for your main course, and I’m usually pretty happy with store-bought chocolate for dessert.
But I’ve had a couple requests for dessert recipes, and I do sometimes enjoy spending time making a special homemade dessert. Like today’s creme brulee.
Here’s how this recipe came about. I recently took a cooking class at a national chain cooking supply store. It was offered as a company outing through my work. I’m not going to write a review of the class because I didn’t take notes or pictures, and I was there more to socialize with coworkers than to pay attention to the class. But I did get a couple of interesting things out of it.
For the dessert in the class, we made creme brulee. If you don’t know, crème brûlée is French for burnt cream. It is a simple custard made with cream, egg yolks, sugar, and vanilla. The custard is then topped with a thin layer of sugar that’s caramelized and a little bit burnt. The sugar on top gets hard, so you have to whack it with your spoon to crack through the top layer. Maybe it’s just me, but I think it’s ridiculously fun to eat. The crunchy sugar is a nice textural contrast to the smooth and creamy custard.
At the end of the class, we each got to eat an individual-sized creme brulee. It was tiny. The ramekin was less than an inch deep and barely larger than a quarter. Looking at the size of the ramekins they sold, I think this was made in a 1-ounce ramekin. Who eats one ounce of creme brulee?
Despite being disappointed with the portion size, it did really get me in the mood for creme brulee. That’s what prompted me to make it at home.
In the class, we used a kitchen torch to get an even brown color on the caramelized sugar on top. It’s fun using the torch, and the top looked great. But even though I could justify it to myself by saying it’s for the blog, I’m very resistant to buying kitchen tools I’ll only use a few times a year. I wanted to find a way to caramelize the sugar at home without a torch.
The internet is of two minds on this question. Half the sites I read said, “No torch, no problem! You don’t need it.” The other half basically said, “For the love of God, don’t use the broiler. Your creme brulee will not get an even crust without a torch.”
Having tried it myself, I’m a fan of the broiler method. Using a torch gives you more control, and the end result will look prettier. If you really care about the presentation, you may want to invest in a kitchen torch. If you don’t mind a more rustic look, I say stick with the broiler option. It was an easy way to get a nice crunchy sugar topping.
Note that this recipe was tested in my electric oven. Gas broilers are not as hot as electric broilers and may take longer to caramelize the sugar. If you don’t have a broiler, I also read about a method to burn the sugar using a heated metal spoon. See this recipe from Raiza Costa. I have an electric stove, so I wasn’t able to try this out myself.
The most important thing to remember for this recipe is that while the custards are under the broiler, you need to watch them the whole time. I kept the oven door open a crack so the broiler would stay on and so I could watch, because they were too high up to see through the oven door.
In fact, I like to call this recipe the Creme Brulee Squat Workout because you have to do a bodyweight squat for 5 minutes to watch the creme brulee under the broiler (assuming your oven is at floor-level, under the stove). If you don’t want to squat, I guess you could pull up a chair, but you must stay there and keep an eye on them the whole time.
As far as timing, creme brulee is a good make-ahead dessert because the baked custards will need to chill in the fridge to set for at least two hours before you make the burnt sugar topping. I recommend you then make the topping right before serving.
If you leave the finished creme brulee in the fridge, the hard sugar topping will eventually soften, which ruins the feel of this dessert. How long this takes depends. Some people prefer eating creme brulee chilled so they will put it in the fridge for a half hour after making the crust so it cools down from being under the broiler. You’ll be fine with a half hour. For our creme brulee, it actually took 48 hours before the sugar top softened. But general guidelines I have seen warn not to leave it more than an hour after broiling before serving.
I think one reason ours lasted so long was because I made the crunchy sugar topping very thick. I used a full tablespoon of sugar over our ramekins. Compared to other creme brulees I’ve had, the sugar crust on mine was definitely thicker.
The thickness of your crust depends on the shape of your ramekins. The ramekins I used were 5 1/2 ounce, circular, with a 3 ¼ inch diameter. I’m sure you could find ramekins that would hold the same amount but be shallower and have a greater surface area for the sugar. If you want the maximum crunchy sugar topping to custard ratio, you can look for those shallow ramekins, and add a bit more sugar than I recommend here before broiling. I didn’t want to buy new ramekins, and these were just fine for us.
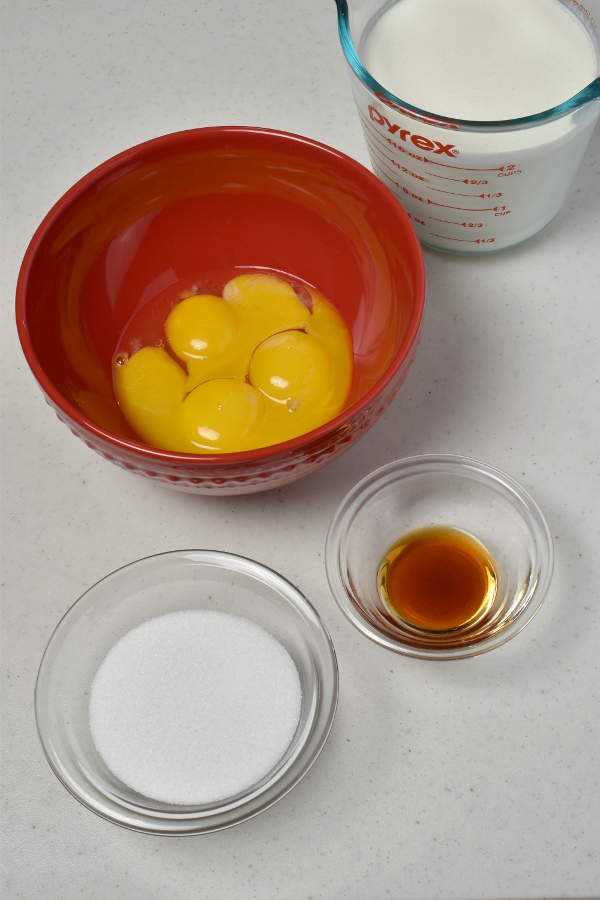
Here are the ingredients. This is a four ingredient recipe! There’s cream, egg yolks, vanilla extract, and sugar. (I saved the egg whites in a Tupperware container in the fridge and used them in an omelet the next morning.)
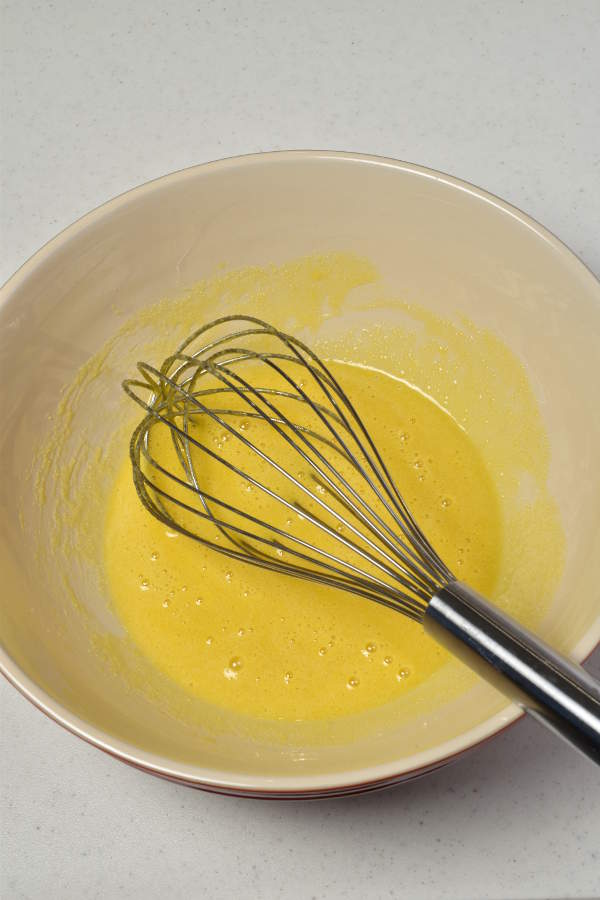
Here I whisked together the egg yolks, sugar, and vanilla.
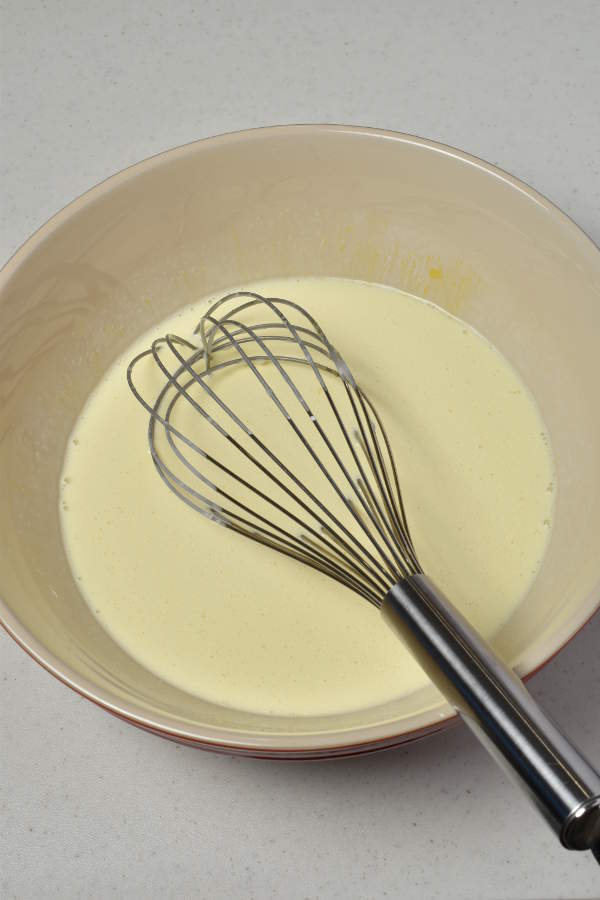
Then I whisked in the cream. There’s no need to heat the cream.
I poured the mixture through a fine mesh strainer before pouring it into the ramekins. This step is important to get smooth custard. If you don’t have a strainer, do you have a splatter guard? I’ve done this in the past pouring it through the wire mesh on a splatter guard, held over a mixing bowl. Just pour a little bit at a time so it doesn’t overflow on the side.
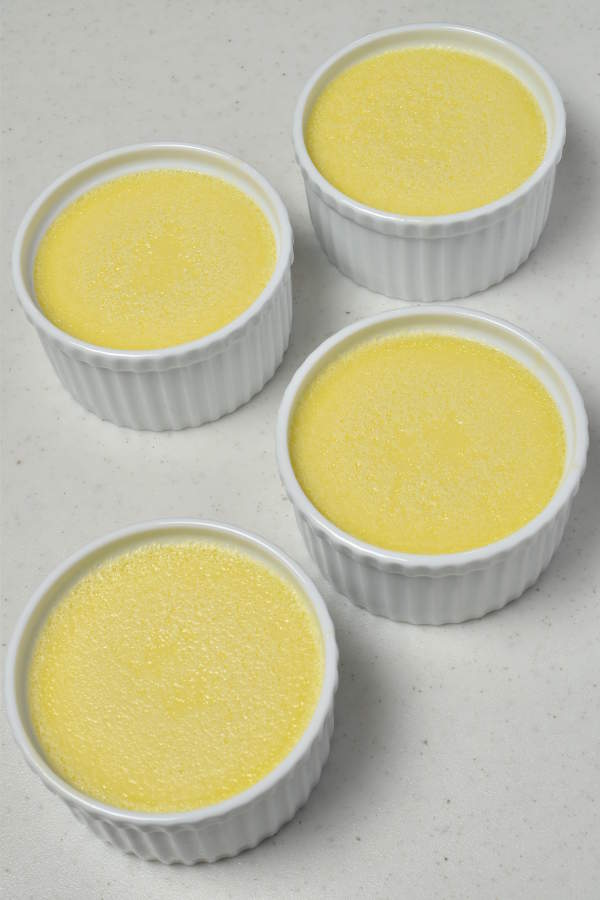
Here are the custards after baking.
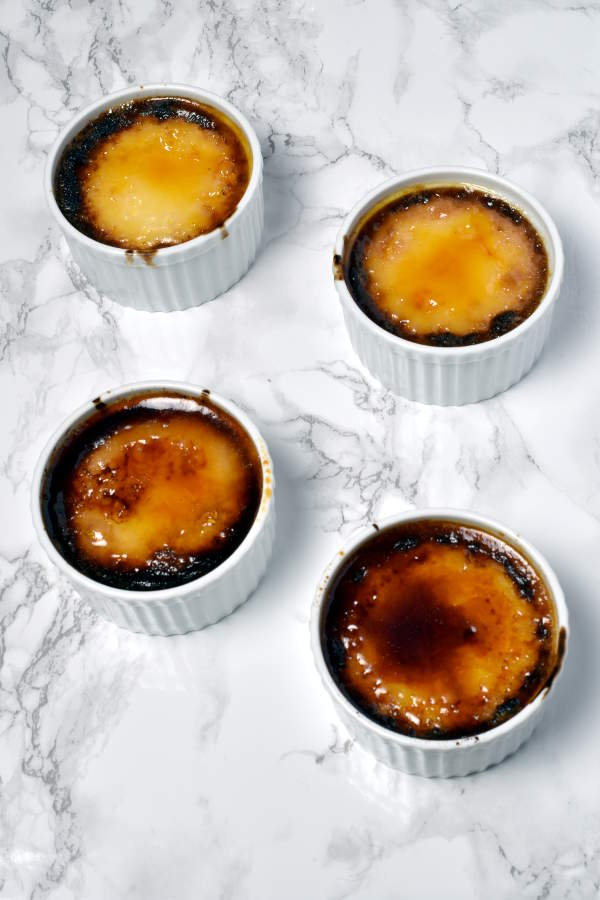
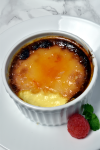
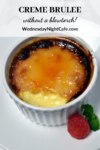
And here’s with the sugar topping.
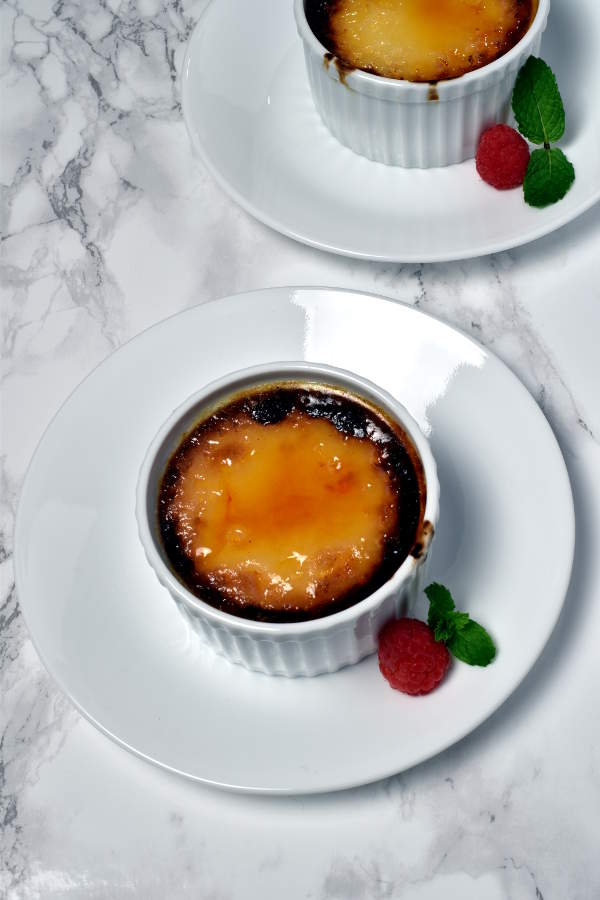
I like to garnish with a raspberry and a mint leaf.
Enjoy that satisfying crunch as you crack your spoon through the sugar crust and get to the smooth creamy custard below.
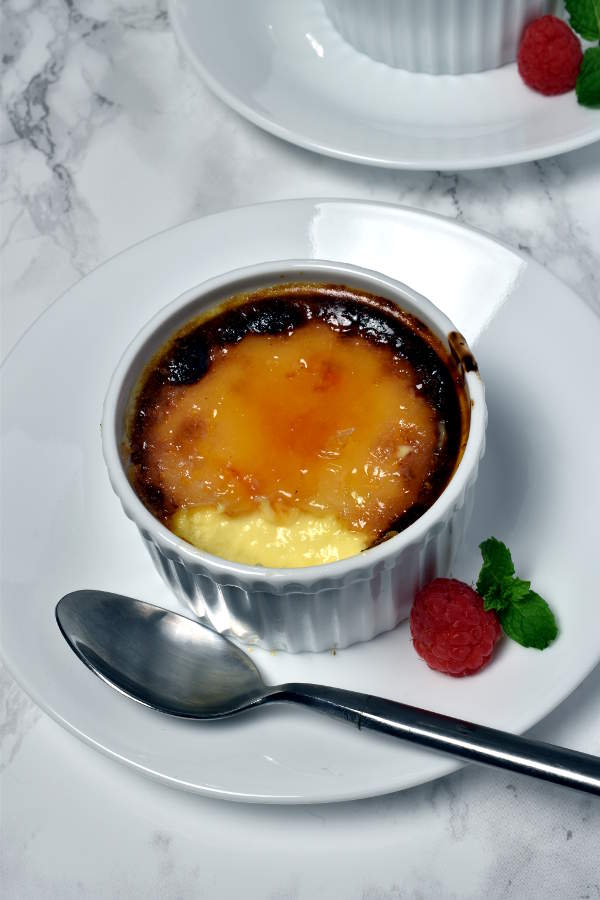
Creme Brulee without a Blowtorch
Ingredients
- 5 egg yolks
- 1/3 cup, plus 4 tablespoons white granulated sugar, divided
- 2 teaspoons vanilla extract
- 2 cups heavy cream
- optional garnish: raspberries, mint leaves
Instructions
- Preheat oven to 300 degrees. Fill a teakettle with water and bring to a boil.
- In a large mixing bowl, whisk egg yolks, 1/3 cup sugar, and vanilla together until thoroughly combined. Add cream and whisk until combined. Pour through a fine mesh strainer into a large measuring cup or pitcher, or a second mixing bowl.
- Place 4 (6 ounce) ramekins on a roasting pan. Pour or ladle mixture into ramekins, leaving slightly less than ¼ inch space from the top. Gently pop any bubbles on the top. Pour boiling water into the roasting pan until it reaches about ½ inch high. Be careful not to let water get in the custard.
- Bake 45 minutes to 1 hour, until the custards are just set. The center should not be liquid but should be very jiggly. Let cool 10 minutes, then carefully remove ramekins from roasting pan. Transfer to fridge and chill at least 2 hours.
- When almost ready to serve: If there is any condensation on the top of custards, gently dab with a paper towel to dry. Transfer custards to freezer and freeze for 15 minutes. Arrange oven rack right under broiler. Preheat broiler to high. After freezing, place custards on a sheet pan and sprinkle 1 tablespoon sugar over each custard. Make sure sugar is in an even layer. Broil for 4-5 minutes, rotating as needed so they broil evenly. Watch closely the whole time. (If this is your first time making creme brulee, you may want to broil just 1 at a time to get the hang of it.) With an electric oven, you may need to crack the door open so the coil stays on (glowing orange). I found when the coil turned off, the sugar did not brown. Remove from oven when the sugar turns brown. Holding the ramekin with oven gloves, tilt it back and forth while the melted sugar is still liquid to help evenly distribute.
- Let cool 5 minutes for sugar to harden before serving. (You can chill up to 1 hour before serving, but not longer.)
Recipe Notes
If you do have a kitchen torch, instead of broiling, hold the torch at a 45 degree angle 3 to 4 inches from the top of the custard and move the flame quickly until the surface is caramelized. I don’t own one, but I did this when making creme brulee at a cooking class. But if you do have a kitchen torch, you know what you’re doing!
Bon Appétit!
This is a great looking dessert which is quite simple to make. The sugar crust looks very inviting, my thing with desserts is that once I start I’ll more and more :). Thanks for sharing!
Thanks Fred! I know what you mean… luckily these are individually-portioned!
This looks amazing. I’ve always wanted to try to make something like this. Luckily I won’t need to do the squats.
Thanks Karlton! I hope you get to try it.
One of my favorite desserts by far!! So creamy and delicious!
Haha I love the Creme Brulee Squat Workout! And I actually think they look really good, I’d love to give it a blowtorch free try!
Pining for later! I’ve been wanting to make creme brulee but was wondering how to do it without a torch! Awesome recipe!
I too haven’t tried creme brulee because of the torch but the broiler idea is so cool to apply instead. Bookmarking to try.
This is sooo helpful! I’ve always wanted to make creme brulee but didn’t want to buy a blow torch!
Looks so delicious and easy to make plus it doesn’t use a blowtorch. This is perfect for our dessert this weekend, Definitely trying this. Thank you for this recipe.
My husband loves this dessert, but I never made it at home because of the lack of a blow torch, this recipe has changed that!